


Charging your vape device correctly is crucial for ensuring its longevity and performance. Whether you’re new to vaping or a seasoned enthusiast, knowing the ins and outs of charging your vape can significantly enhance your vaping experience. Follow this authoritative guide for actionable advice on how to charge your vape effectively and safely.
Revolutionary New Disposable Vape
The new Lost Mary MT15000 lasts up to 15,000 puffs and features the incredible new Pulse Mode that allows you to get double the vapor on demand. A front display shows the device's e-liquid supply and battery life at a glance. Try the Lost Mary MT15000 Sample Pack, which includes three different flavors, for just $39.99. Take an additional 20% off with the coupon code VAPEGRL.
Understand Your Vape Device
First, identify the type of vape you own. Vape devices come in various forms, including pen-style vapes, pod systems, and mod setups. Each type may have a different charging mechanism, so it’s essential to understand your device. Refer to the user manual for specific charging instructions tailored to your model.
Use the Correct Charger
Always use the charger that comes with your vape device. If you’ve misplaced it, obtain a replacement from the manufacturer or a trusted retailer. Using an incorrect charger can risk damaging your device or pose safety hazards. Ensure the charger’s output matches your device’s requirements.
Follow Proper Charging Practices
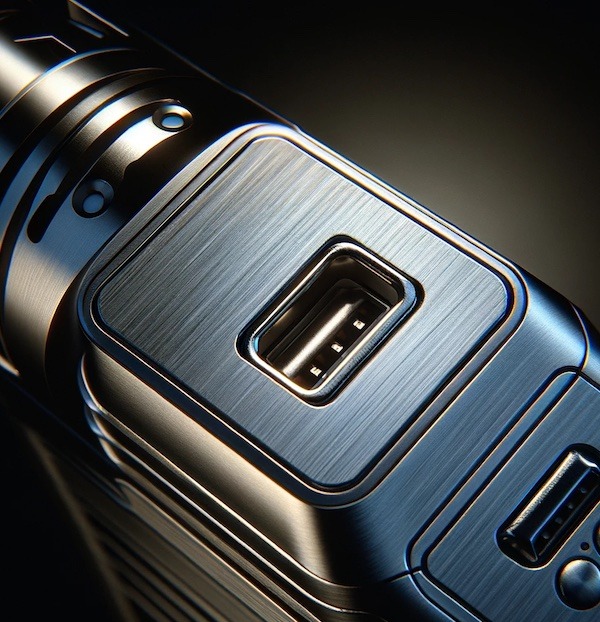
- Connect Properly: Connect the charger to your device carefully. Most devices use a micro-USB or USB-C connection. Make sure the plug fits snugly and isn’t forced into the port.
- Monitor the Charge: While it’s charging, keep your device in a place where you can monitor it. Do not leave it charging unattended, especially overnight. This precaution helps prevent overcharging, which can reduce battery life.
- Unplug When Done: Once your device is fully charged, disconnect it from the charger. Overcharging can lead to battery degradation or potential failure. Many devices have indicators to show when the charge is complete.
Charging Removable 18650 Batteries with an External Charger
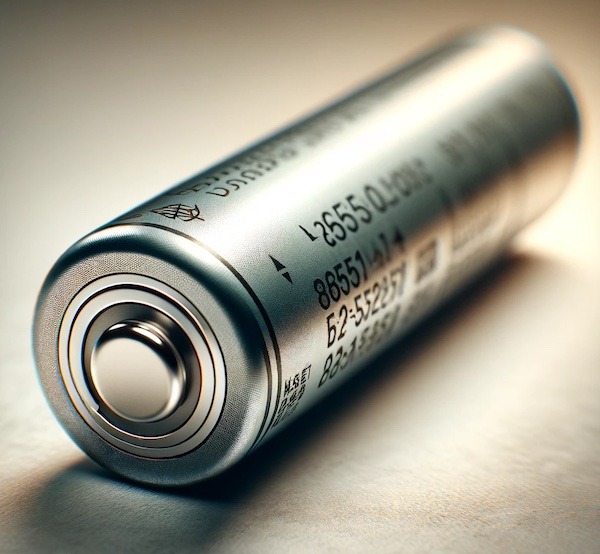
For vapers using devices with removable 18650 batteries, an external charger is a valuable tool for ensuring efficient and safe charging. This section will guide you through the process of using an external charger to charge your 18650 batteries, enhancing both their performance and lifespan.
- Select the Right Charger: Choose an external charger specifically designed for lithium-ion batteries like the 18650. Quality chargers offer features such as individual charging bays, overcharge protection, and adjustable charging rates. Brands like Nitecore and XTAR are well-regarded in the vaping community.
- Inspect Your Batteries and Charger: Before charging, inspect the batteries and charger for any signs of damage. For batteries, look for dents, scratches, or wrapping issues. Ensure the charger’s contacts are clean and free from debris. Damaged batteries or chargers should be replaced to prevent safety risks.
- Insert the Batteries Correctly: Place your 18650 batteries into the charger, aligning them with the positive (+) and negative (-) terminals according to the charger’s indications. Most chargers have spring-loaded contacts to accommodate different battery lengths securely.
- Set the Charging Rate: If your charger allows setting the charging current, opt for a lower rate to extend the life of your batteries. A charge rate of 0.5A to 1A is recommended for 18650 batteries. Charging at a slower rate decreases heat generation, which is beneficial for battery health.
- Monitor the Charging Process: While external chargers are designed to stop charging once the battery reaches full capacity, it’s good practice to periodically check on the charging process. Avoid leaving batteries to charge unattended for extended periods, especially overnight.
- Remove Batteries Once Charged: Once the charger indicates the batteries are fully charged, remove them promptly. This practice helps prevent any potential overcharging, even in chargers with automatic shutoff features.
- Store Batteries Safely: If you’re not going to use the charged batteries immediately, store them in a protective case to prevent short circuits. Keep them in a cool, dry place away from direct sunlight and heat sources.
Be Safe When Using an External Charger
Using an external charger for your 18650 batteries offers several advantages, including faster charging times, the ability to charge multiple batteries simultaneously, and enhanced safety features. However, always prioritize safety by using high-quality chargers and batteries, following the manufacturer’s instructions, and conducting regular inspections of your charging equipment and batteries. This approach will ensure a safe and satisfying vaping experience, keeping your device powered up and ready to go.
How to Charge a 510-Threaded Vape Pen
510-threaded vape pens are a staple in the vaping community, known for their compatibility with a wide range of cartridges and batteries. Charging these devices properly is essential for maintaining their performance and longevity. Here’s a comprehensive guide on how to charge your 510-threaded vape pen efficiently and safely.
Understand Your Device
First, ensure that your 510-threaded vape pen comes with a rechargeable battery. Most of these pens are equipped with standard USB charging capabilities, but it’s crucial to confirm this by checking the product specifications or user manual.
Use the Correct Charger
Your vape pen should come with a USB charger specifically designed for its battery. This charger usually has a 510-threaded connection on one end and a USB plug on the other, allowing you to screw the battery directly onto the charger.
- Inspect the Charger: Before charging, inspect the charger for any signs of damage. Using a damaged charger could pose safety risks or damage your battery.
- Thread the Battery: Carefully screw the battery section of your vape pen onto the charger. Ensure a snug fit but avoid overtightening, as this could damage the threads or the connection.
- Connect to a Power Source: Plug the USB end of the charger into a USB port on a computer, a wall adapter, or a power bank. It’s recommended to use a power source with an output that matches your vape pen’s charging requirements, usually found in the user manual.
Charging Process
- Monitor the Charging: Many 510-threaded vape pen chargers have an indicator light that shows the charging status. A red or blinking light often indicates that charging is in progress, while a green or solid light signifies a full charge.
- Unplug When Complete: Once the indicator shows that the battery is fully charged, carefully unscrew the vape pen from the charger and disconnect the charger from the power source. Overcharging can reduce battery life, so it’s important to disconnect your pen as soon as it’s done charging.
Vape Battery Charging Safety Tips
- Avoid Extreme Temperatures: Charge your vape in a cool, dry place away from direct sunlight or heat sources. Extreme temperatures can affect battery performance and safety.
- Inspect Regularly: Before charging, inspect your device and battery for any signs of damage, such as leaks, bulging, or cracks. If you notice any damage, do not charge the device and consult the manufacturer.
- Use Protective Gear: When handling removable batteries, especially for mod setups, use battery cases to prevent short circuits. Never carry loose batteries in your pocket with metal objects like coins or keys.
- Follow Air Travel Regulations: If you’re traveling, remember that vape devices and batteries must be carried in carry-on baggage only. Check the airline’s regulations regarding vaping devices and batteries for any additional restrictions.
Troubleshooting a Vape That Isn’t Charging
Encountering issues with your vape not charging can be frustrating, whether you’re using a rechargeable disposable device or a more complex vaping system. Before considering a replacement or professional repair, there are several troubleshooting steps you can take to potentially resolve the issue yourself. Here’s how to systematically address and possibly fix a vape that isn’t charging.
1. Check the Charger and Cable
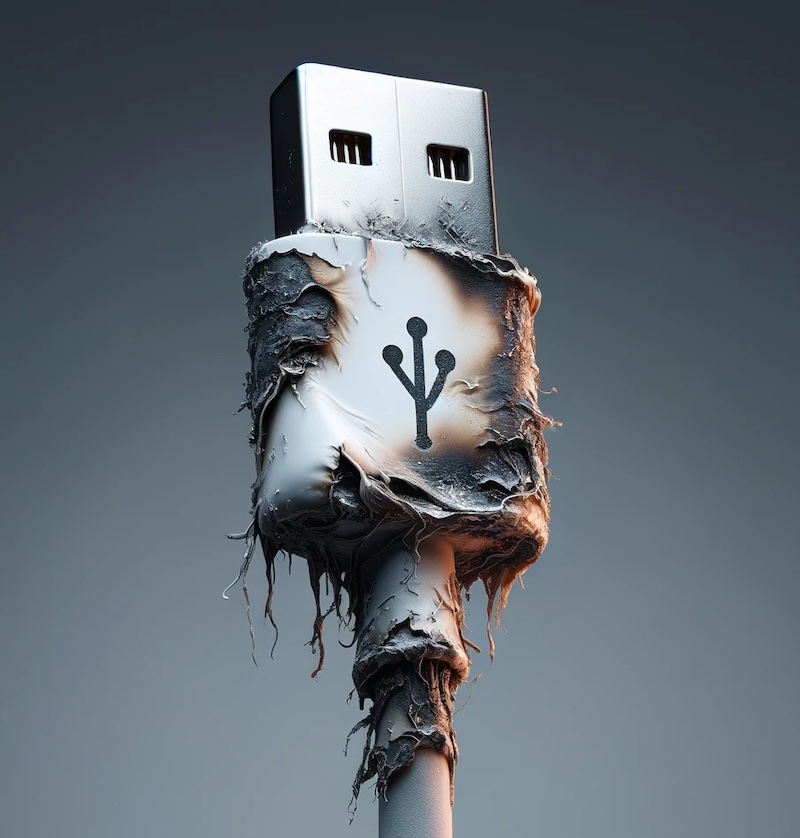
- Inspect for Damage: Examine the charging cable and the power adapter for any visible signs of wear, tear, or damage. Look for fraying, cuts, or kinks in the cable and ensure the adapter isn’t physically damaged.
- Try a Different Cable or Adapter: If possible, use a different cable or adapter that’s compatible with your device. A common issue is a faulty cable or adapter, so swapping these can quickly resolve the problem.
2. Examine the Charging Port
- Look for Debris: Sometimes, the charging port can become obstructed with dust, lint, or debris, preventing a proper connection. Gently clean the port using a small, soft brush or a blast of compressed air.
- Check for Damage: Carefully inspect the charging port for any signs of damage or misalignment. Damage to the port may require professional repair or replacement of the device.
3. Assess the Battery
- Battery Health: If your device has a removable battery, inspect it for any signs of damage, such as swelling, leaks, or discoloration. Replace the battery if it shows any of these signs.
- Battery Connection: Ensure that the battery is correctly installed in the device. For devices with integrated batteries, a poor internal connection may be the issue, which often necessitates professional service.
4. Device Reset
- Follow Manufacturer Instructions: Some devices have a reset function or specific troubleshooting steps recommended by the manufacturer. Consult the user manual for guidance on resetting your device or other suggested troubleshooting procedures.
5. Software Update
- Check for Updates: For advanced vaping devices with firmware, ensure that your device is running the latest software version. Sometimes, charging issues can be resolved with a firmware update.
6. Try a Different Power Source
- Switch Power Sources: If you’re using a USB port on a computer or a specific wall outlet, try a different power source. Some USB ports may not supply enough power, or an outlet could be faulty.
7. Cool Down Period
- Let the Device Rest: If your device has been used heavily or exposed to high temperatures, give it some time to cool down before attempting to charge it again.
Conclusion
If, after trying these troubleshooting steps, your vape still isn’t charging, it may be time to consult with the manufacturer or a professional repair service. Sometimes, internal hardware issues or battery failures require expert attention. Always handle your vaping device and its components with care during troubleshooting to avoid further damage. Remember, regular maintenance and proper care can significantly reduce charging issues and extend the life of your vape.
Final Thoughts
Charging your vape device correctly is not just about prolonging the battery’s life; it’s also about ensuring your safety and the optimal performance of your device. By following the proper charging practices and safety tips outlined above, you can enjoy a seamless vaping experience without unnecessary interruptions or hazards. Always consult your device’s user manual for specific instructions and maintain regular care to keep your vape in top condition.


0 Comments